Rules
A cool feature of Warp is the “rules” directory which allows you to explain to the AI how to “do things” - think of it as macros on steroids. Here is a rule we can test for booting up a Katana project. Once you install Warp, open your Rules and add the following: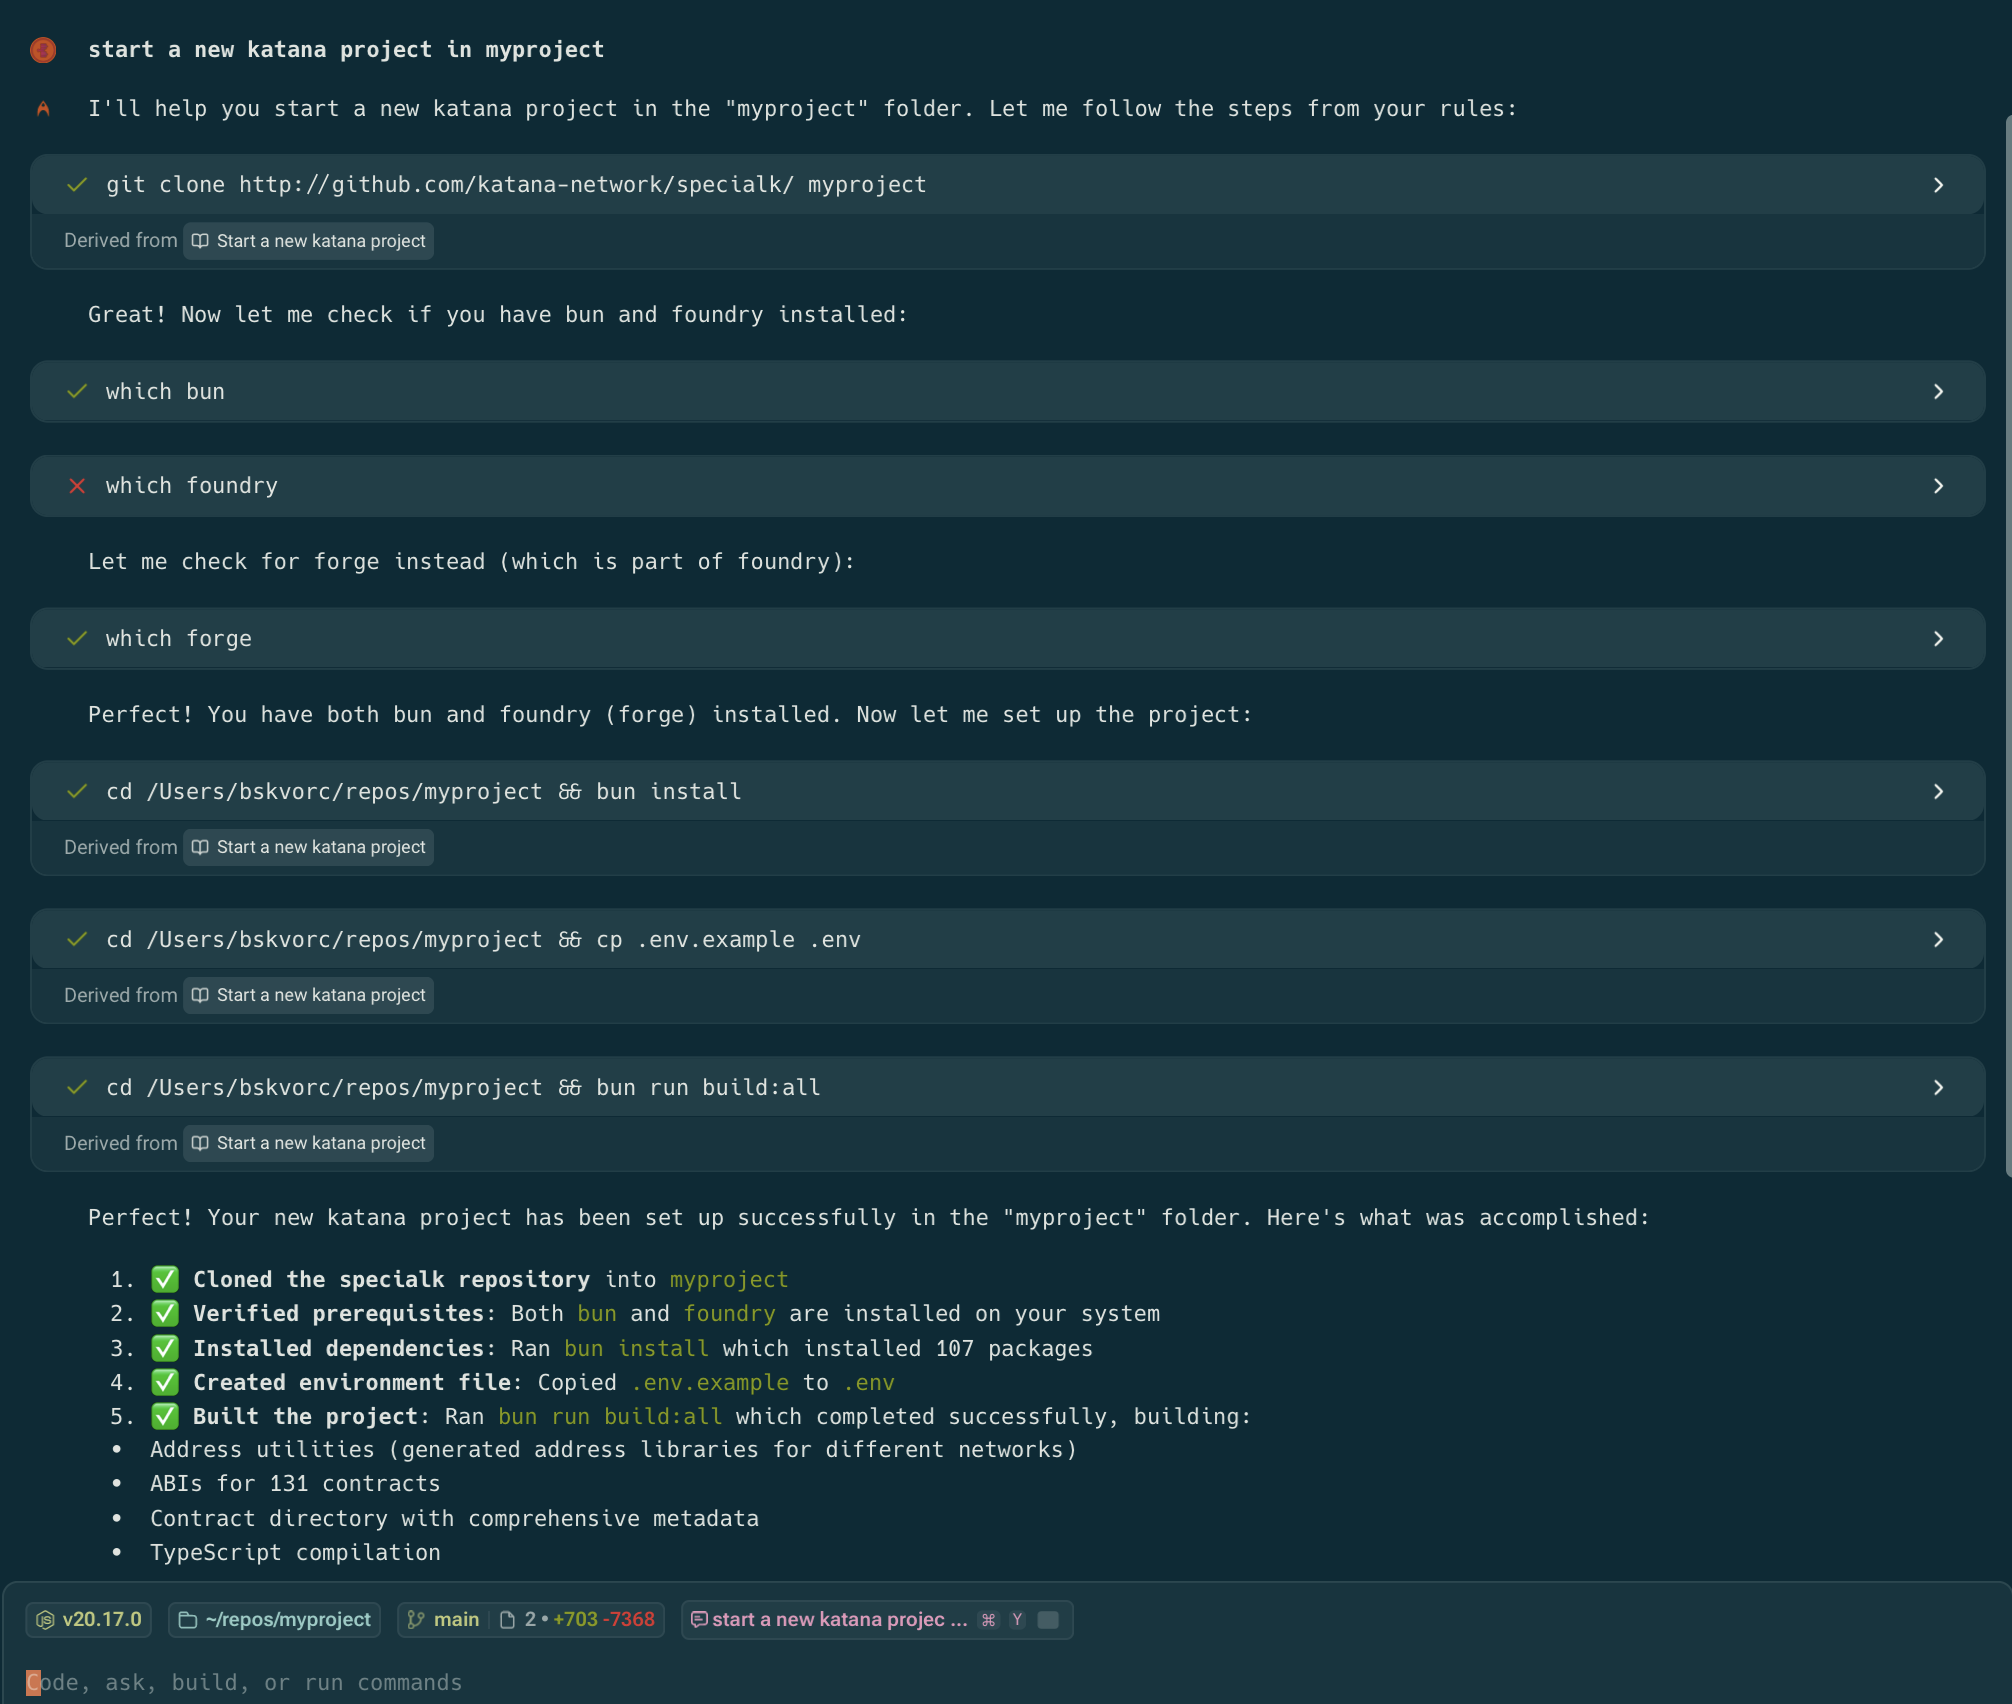
- How to deploy a contract
- How to interact with a contract
- How to run a local fork of a chain
- etc.
Prompt sharing
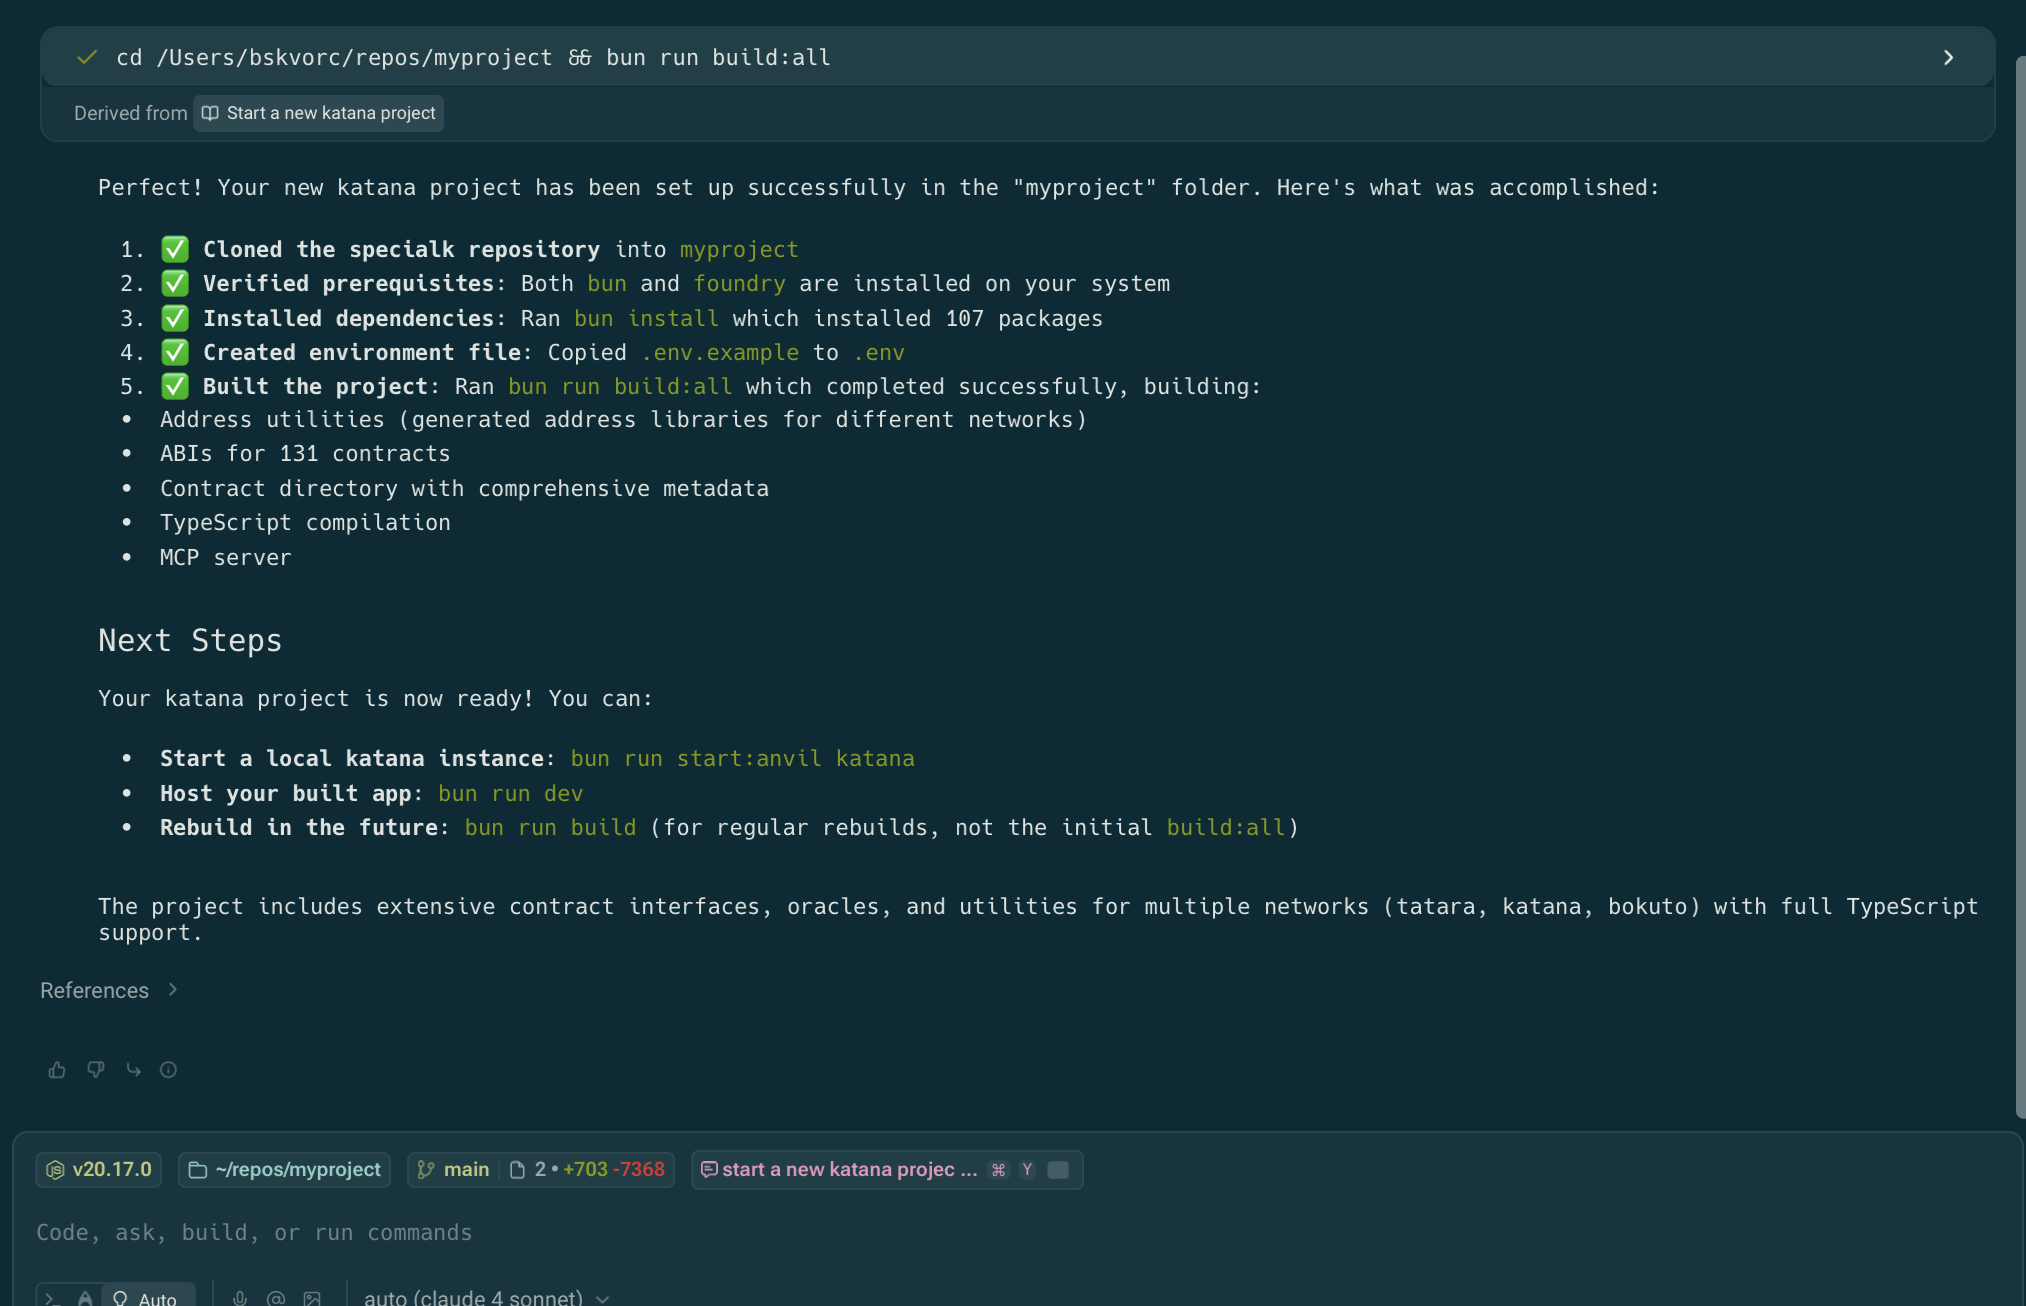
When you come up with cool prompts, you can share them with others. Here is an example: Running this will add it to your Warp “Shared with me” directory, and you’ll be able to summon it at will. Let’s try running it on the specialk repo we just initialized!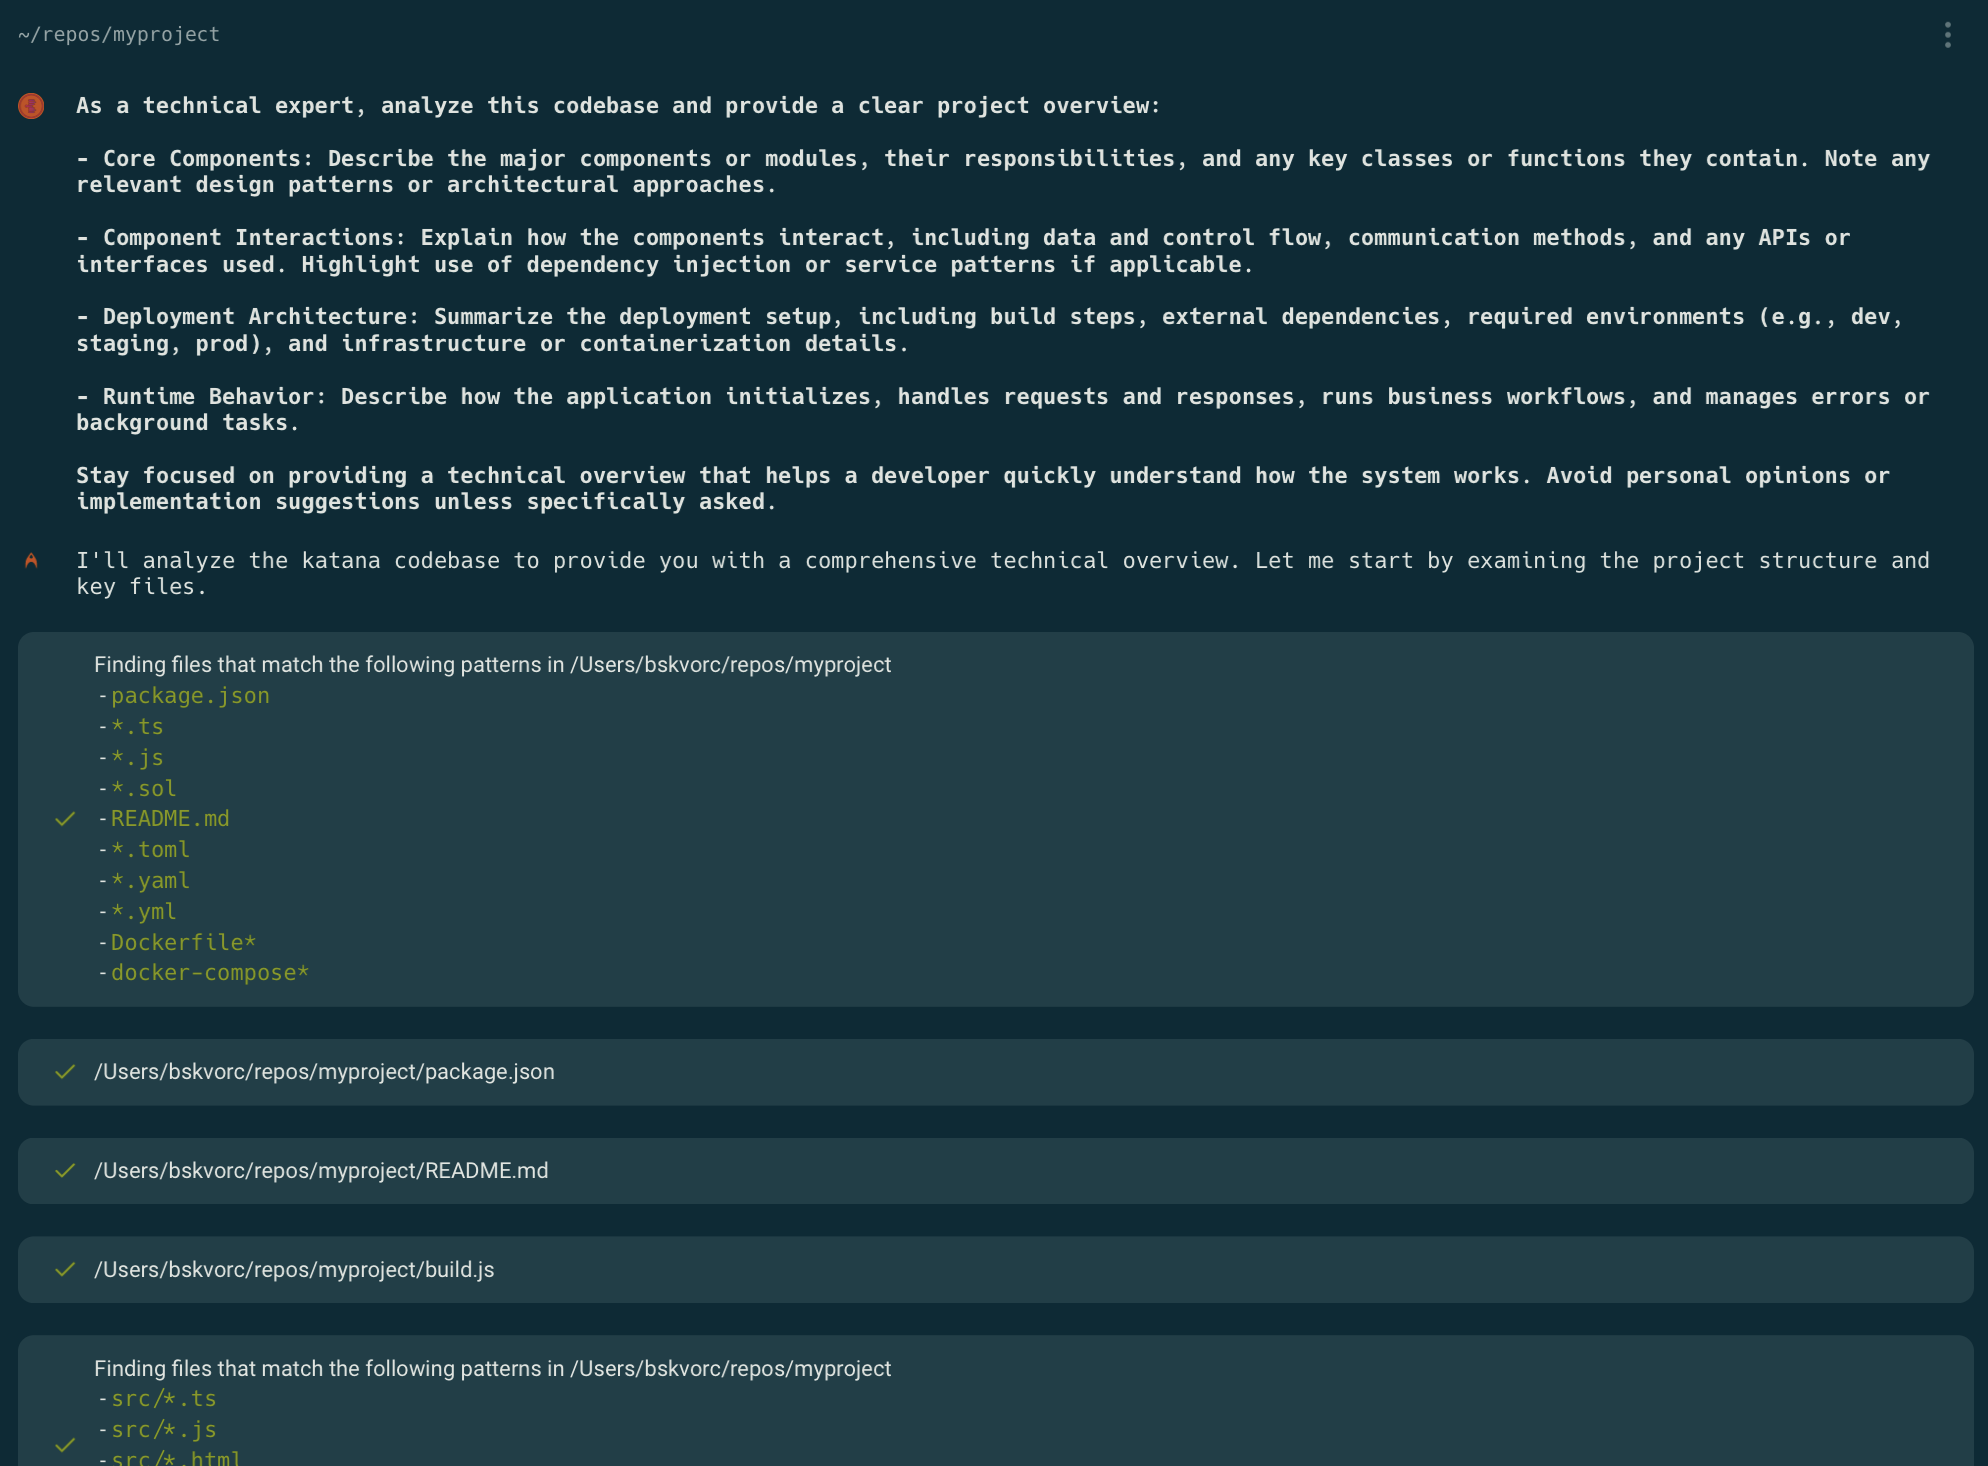
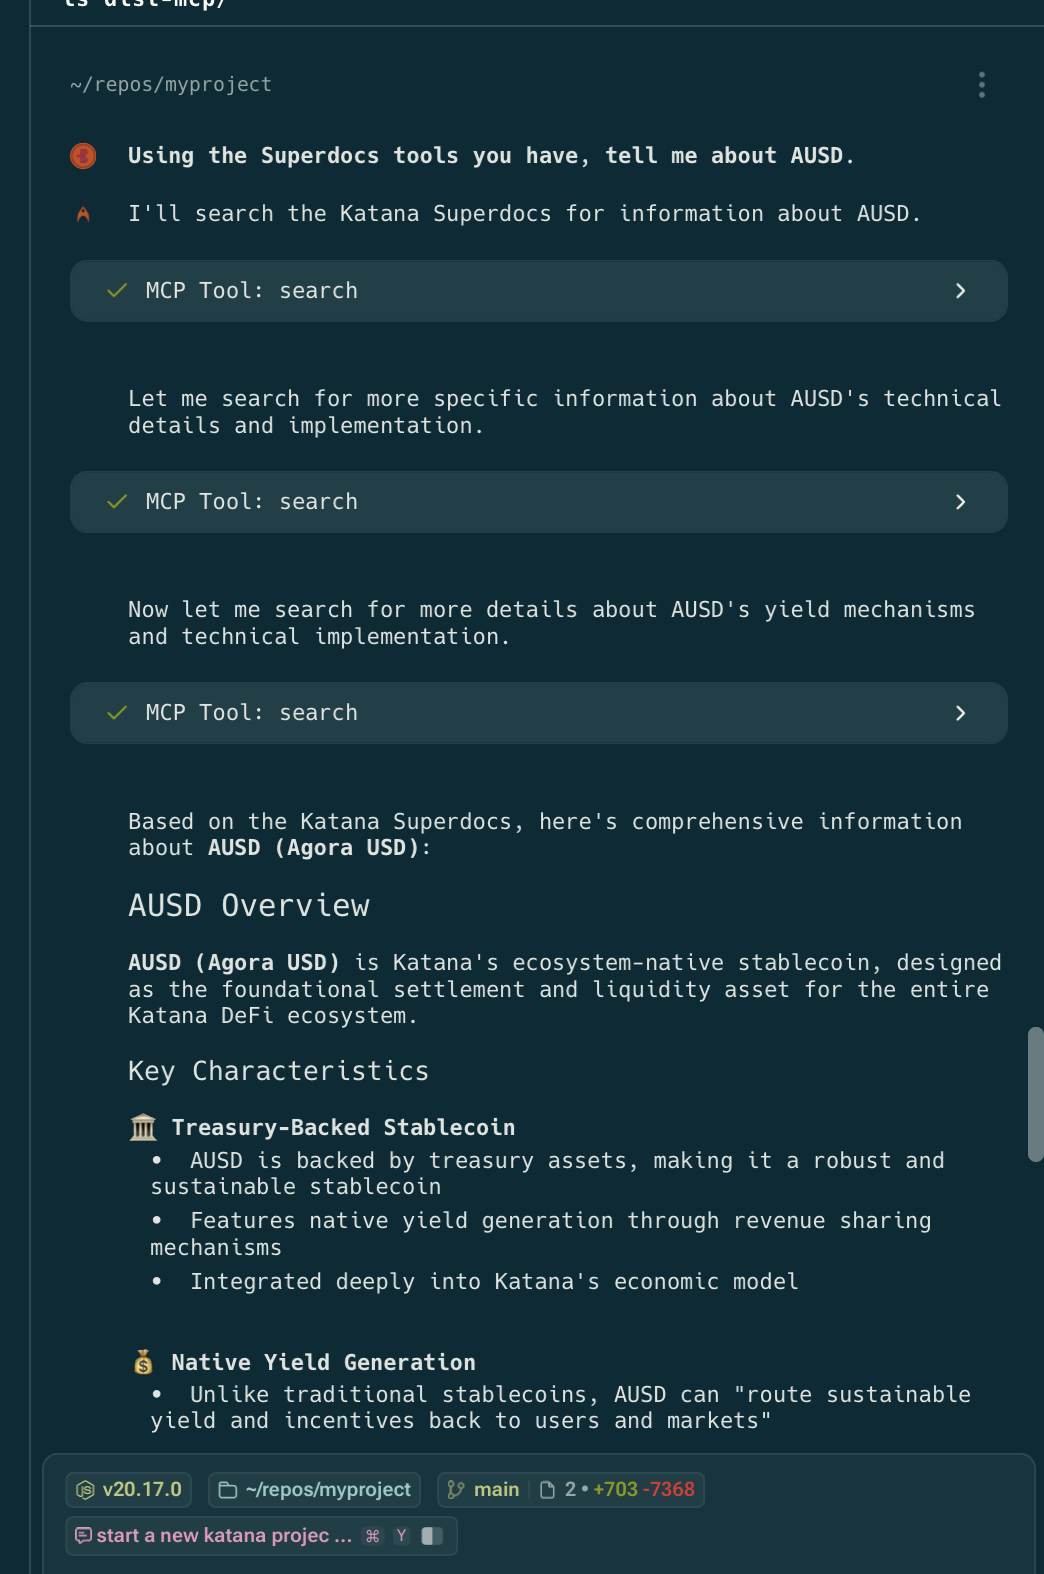
MCP
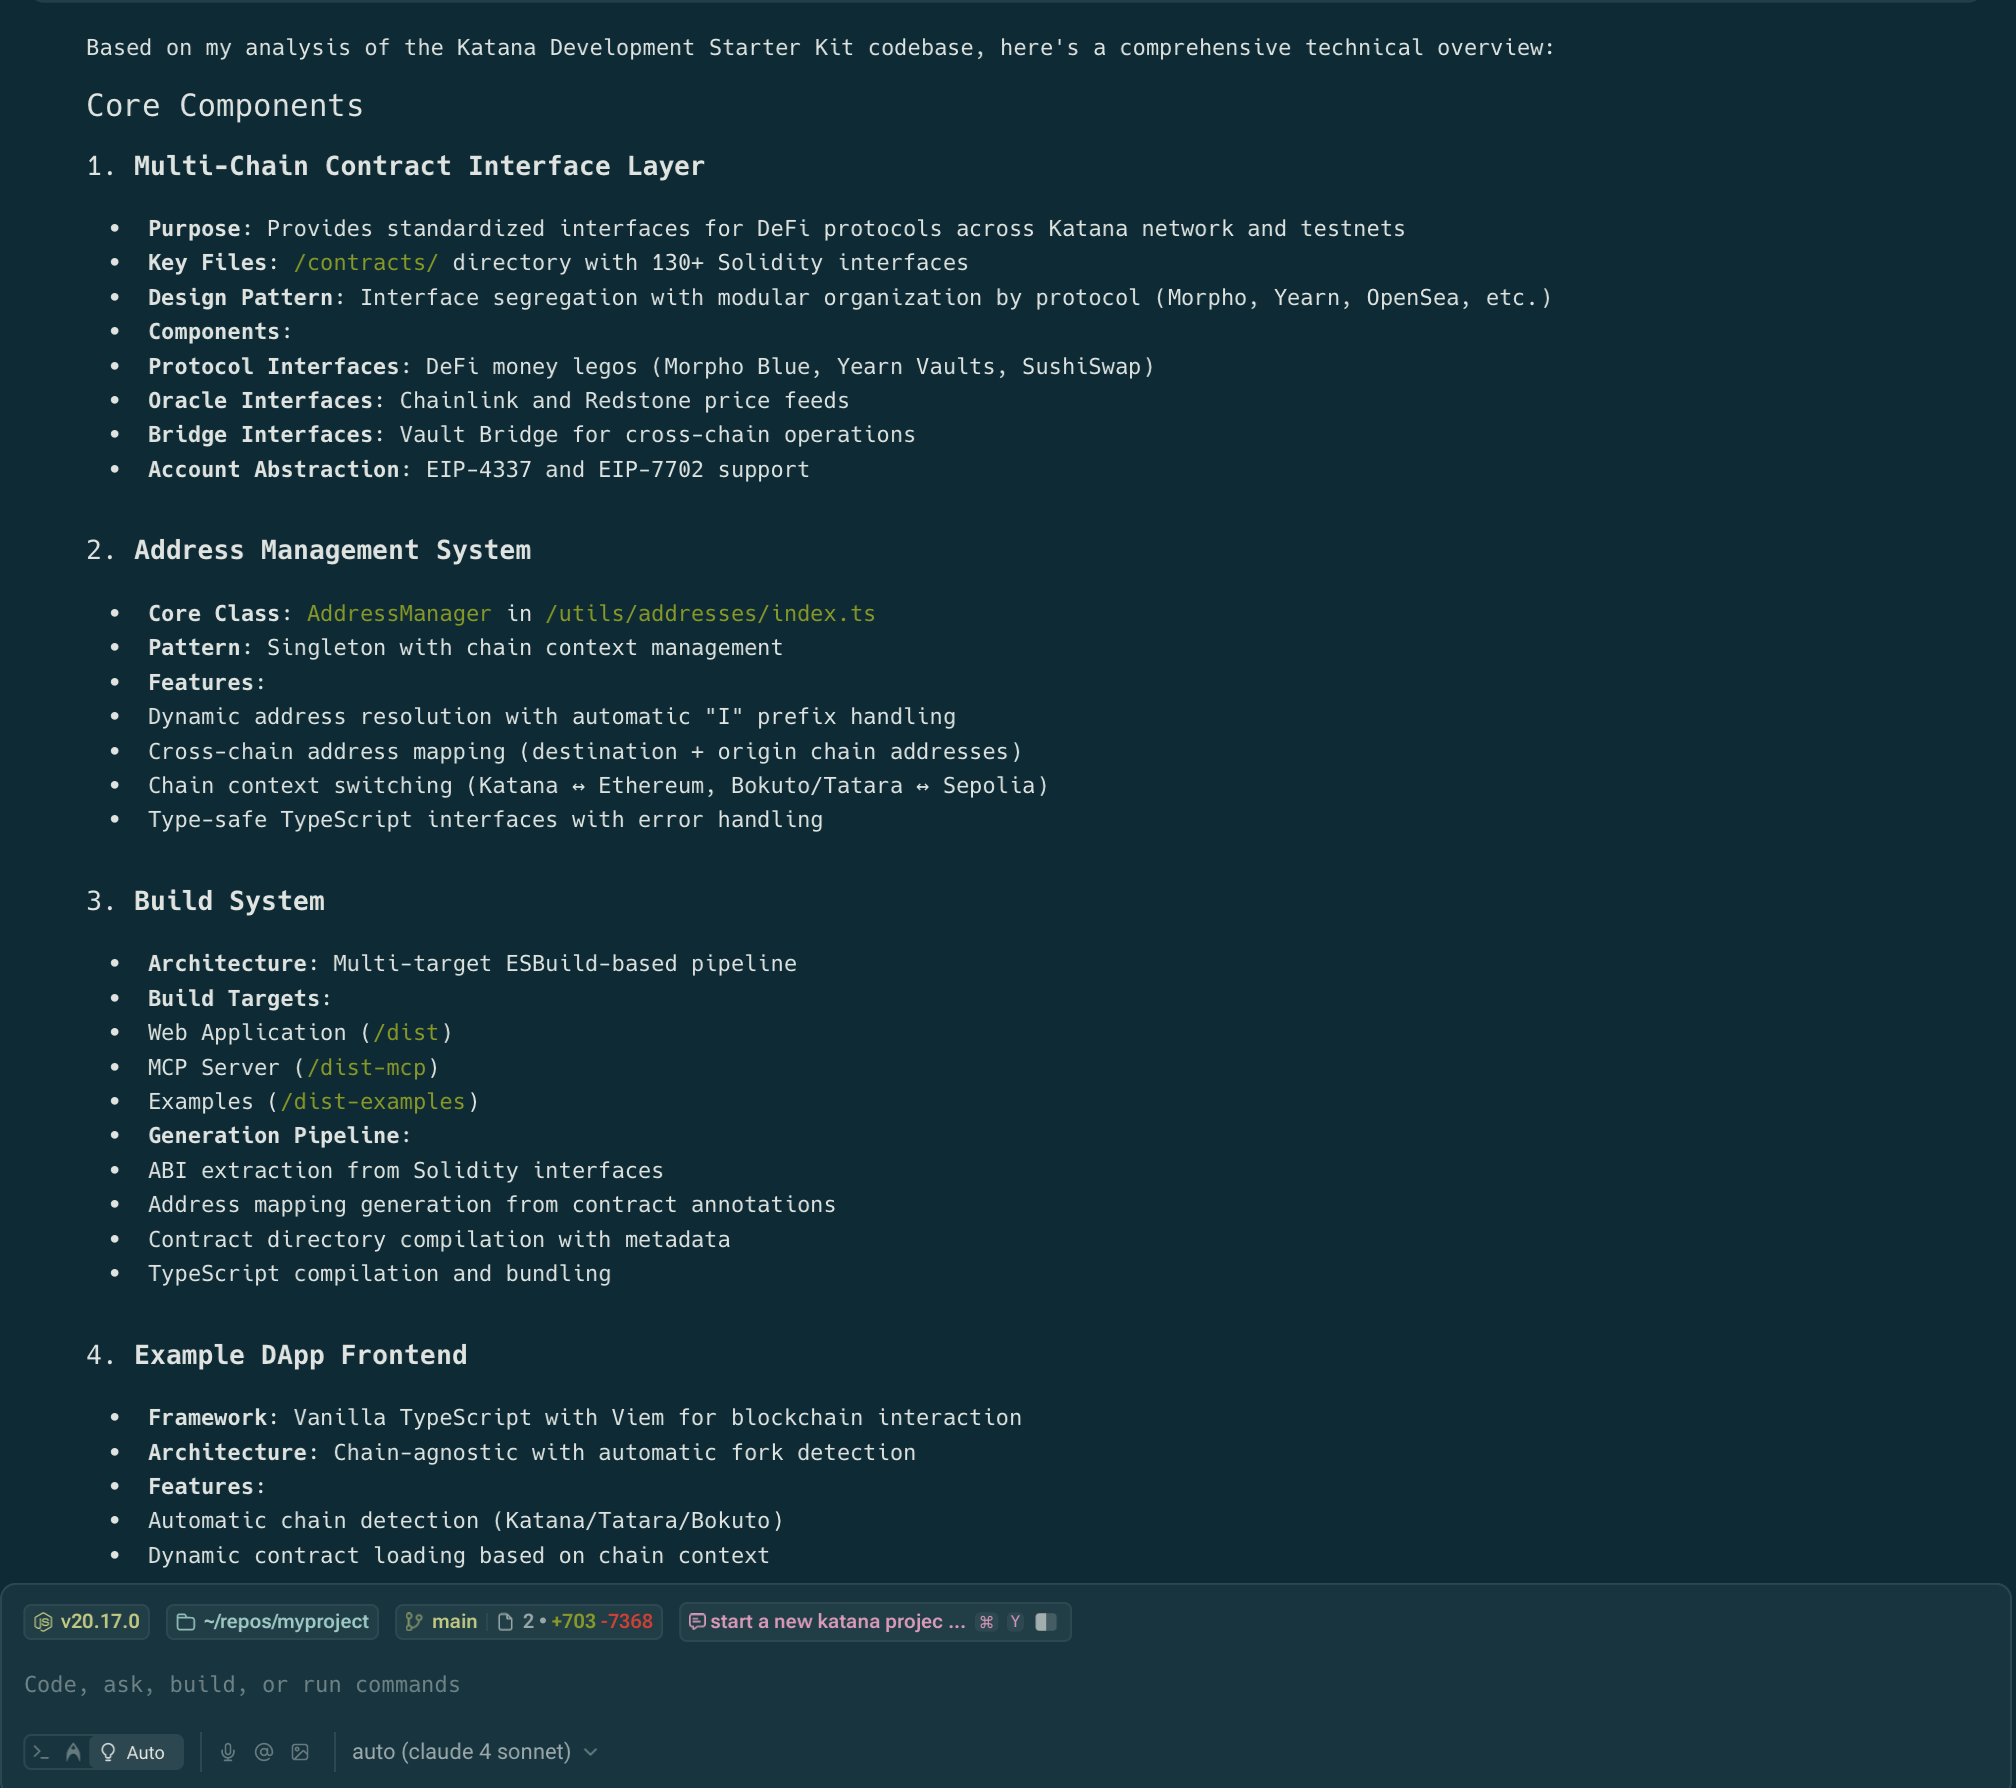
Lastly, let’s integrate MCP into Warp. We have 2 MCPs at our disposal:- the MCP of these docs
- the MCP of SpecialK, Katana’s starter kit
Warp has many other cool features - I recommend you explore them all and check out their docs!